Simple Mapping Coordinates
|
1) Giving the asteroid really good UVW coordinates is a pain in the butt. For this project, I needed to minimize both the amount of stretching and the number of seams that the asteroid has. Among other things, this makes texture mapping the object a lot easier. Unfortunately, setting up good mapping coordinates is pretty involved. If you'd rather just get the damned thing mapped, follow the instructions in this section. But if you want to do a really good job, skip ahead to "Advanced Mapping Coordinates."
|
|
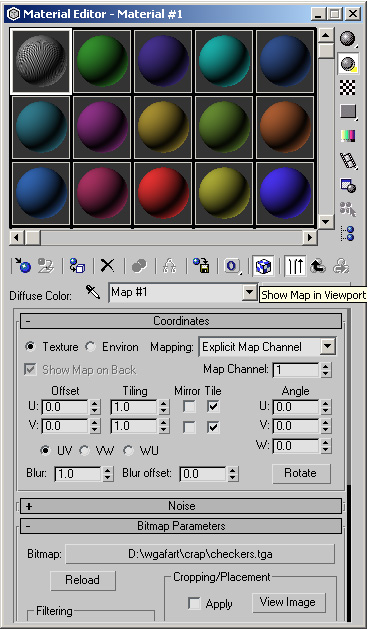
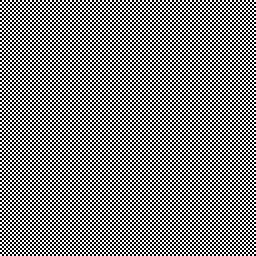
2) Start by making a new material, and give it a texture map that's just a black and white checkerboard... Make sure it's an actual bitmap (don't just give it a "checker" material), and click the "Show Map in Viewport" button. A checkerboard texture is a really useful tool for finding stretched mapping coordinates, and I use it on nearly every object I need to UVW map.
|
|
|
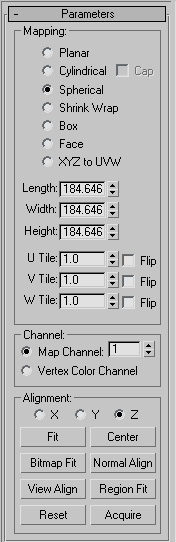
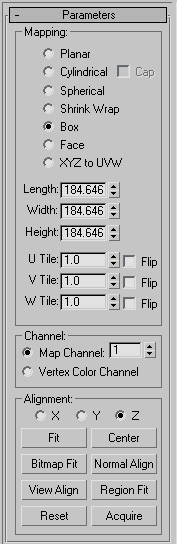
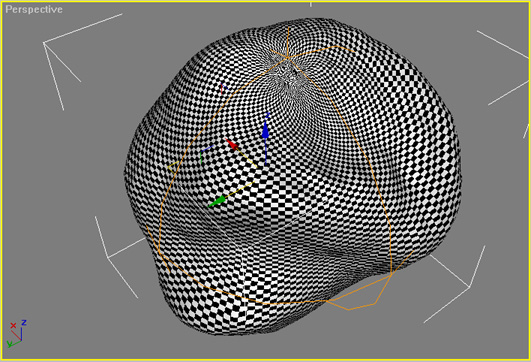
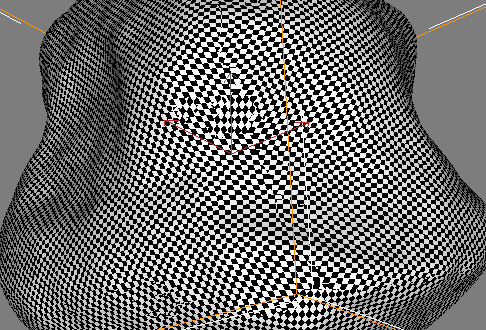
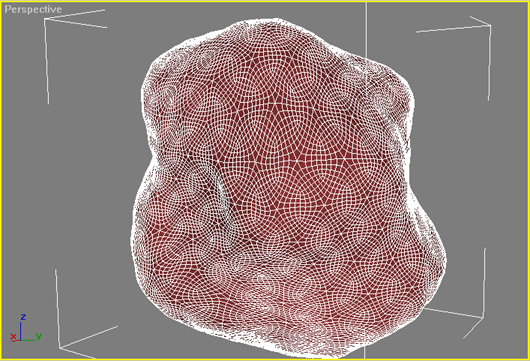
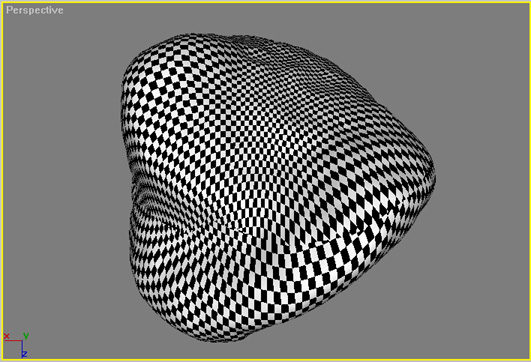
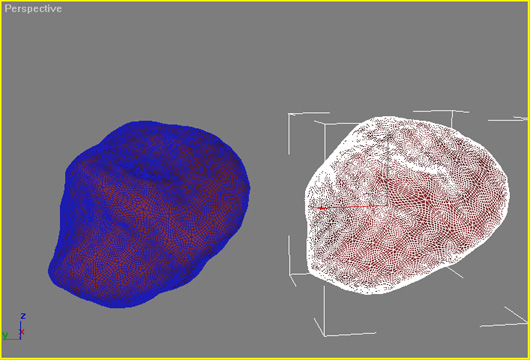
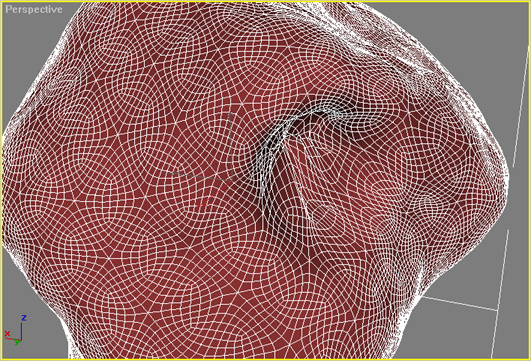
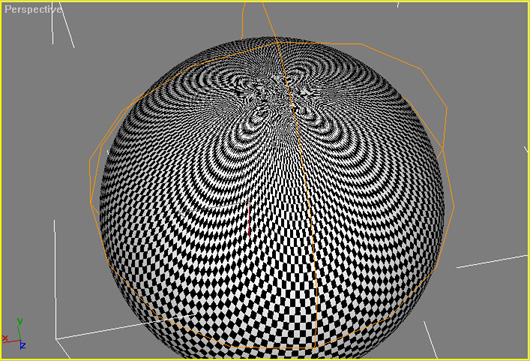
3) Apply that checkerboard material to your asteroid, and add a UVW Mapping modifier. At this point, if you want to minimize seams, "Spherical" is the best mapping method, and if you want to minimize stretching, you'll want to use "Box" mapping. There. You're done! But if you used spherical mapping, look at how the texture is all bunched up at the top, and how stretched it gets around the edges. Or with box mapping, look at how ugly those seams are. That's not good at all! Cylindrical and planar mapping have similar problems, so if you REALLY need to do a good job, here's how:
|
|
Advanced Mapping Coordinates
|
1) What we want to do is to minimize both seams and stretching. We can do this by splitting the asteroid in half, and unwrapping each half separately - creating only one seam, and causing fairly little stretching. If you followed the instructions in the "Simple Mapping Coordinates" section, get rid of that UVW modifier, and go into your material and disable "Show Map in Viewport". We need to do some more work first, and a poorly mapped checkerboard texture will just get in the way.
|
|
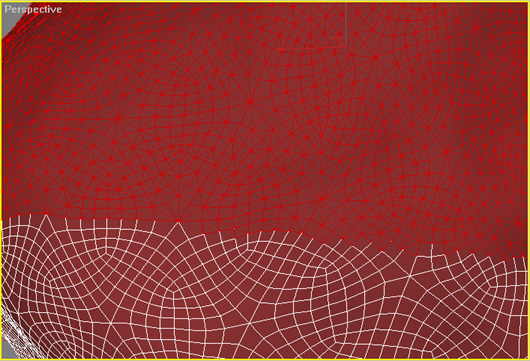
2) First things first, we need to divide the asteroid in half. Add an Edit Mesh modifier, and go into Polygon mode. (Hit F4 to turn on "Edged Faces") Change the selection type from "Rectangular Selection Region" to "Fence Selection Region". Find a nice seam halfway through your object, and select half of your asteroid, following as closely as possible to the seam.
|
|
|
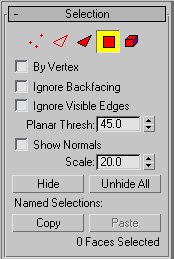
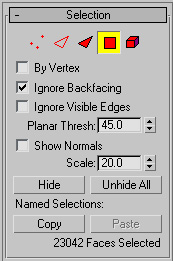
3) There, now half of your object should be red. If you look closer, the selection will follow the seam pretty nicely in some areas, but you'll need to touch it up a little. Before you begin, check the "Ignore Backfacing" box - that way, if you deselect faces on one side of the object, you won't accidentally deselect the ones on the other side as well.
|
|
|
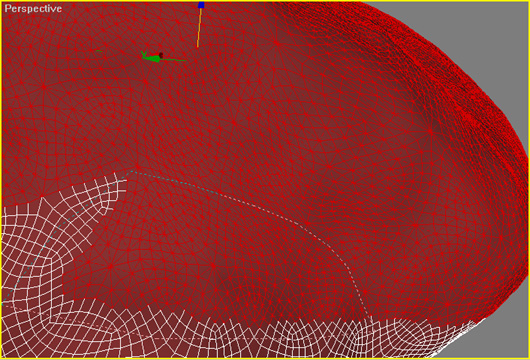
4) Now, go around the object, selecting and deselecting groups of faces so that the selection boundary follows your seam. (Hold "ctrl" to add to the selection, and "alt" to remove from it.)
|
|
|
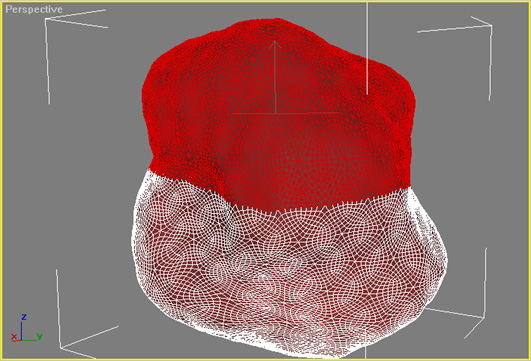
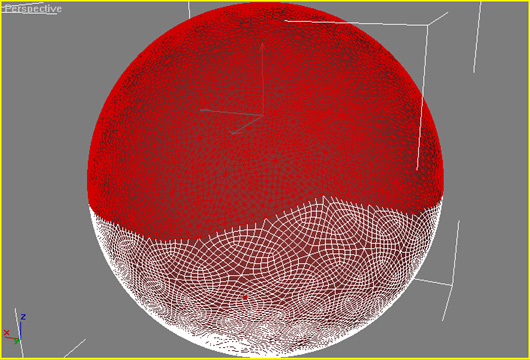
5) Your seam should look nice all the way around. To make sure that you got all the right faces, you may want to hit "delete", look to make sure there aren't any stray polygons floating around, then hit undo when you're sure it looks good. When you're done with that, change the material ID for the selected faces - it'll make it a lot easier to keep track of the two halves of the asteroid later on. With a GeoSphere, the default material ID is 2, so change it to 1 for the selected faces. Now, we're just about ready to add some UVW mapping.
|
|
|
Advanced
- There are a number of things you can do at this point to make mapping your asteroid easier. All of them, however, involve messing with the geometry - and at some later point, you'll need to be able to revert the asteroid to the state it's in right now, while keeping the finalized UVW coordinates. A Morph object will work nicely, but for now, all you need to do is make a copy of the asteroid and hide it for later.
|
|
|
- Mapping the object can be easier if you go back and delete some of your displace modifiers, since craters can mess with your mapping coordinates. If you have really wacky geometry, you might also want to add another edit mesh modifier to push and pull some vertices if there are any real problem areas.
|
|
- Adding a "Spherify" modifier at this point will also improve the outcome of your mapping, and it will help you find problem areas in the mesh. You can fix these problems by going back and forth with the aforementioned edit mesh modifier, but that's not usually necessary.
|
|
|
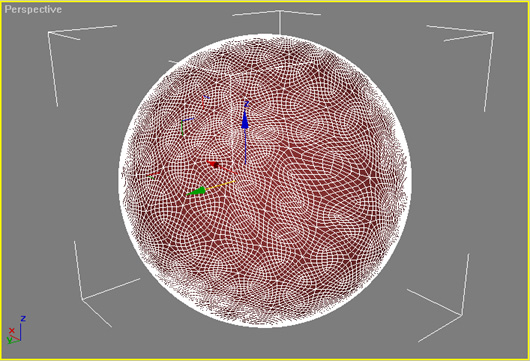
If you skipped the advanced section: In practice, I usually add a Spherify modifier, and do a couple other things to the mesh to make the UVW mapping turn out a little nicer. As a result, in the next few screenshots, my asteroid looks like a sphere, while yours will still look like an asteroid. Don't worry, everything works out the same no matter what your asteroid looks like.
|
|
6) At this point, it's useful to have a checkerboard pattern on the asteroid. If you're not sure how to do this, follow the directions in Step 2 of the "Simple Mapping Coordinates" section.
|
|
|
7) Add a Mesh Select modifier, and go into Polygon mode. Your polygons should still be selected, but if they're not, just type in the correct material ID (probably 1) and click "select".
|

|
|
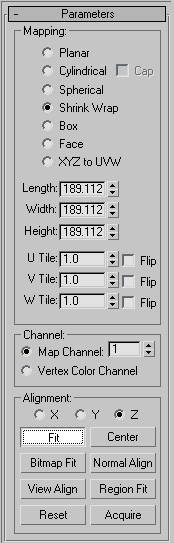
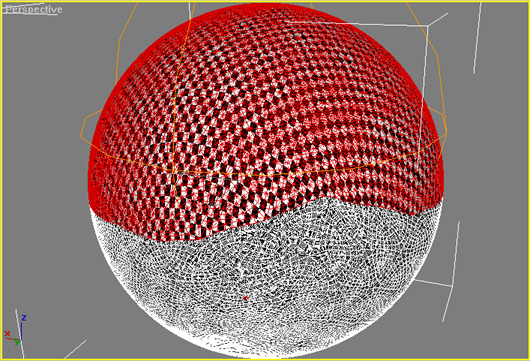
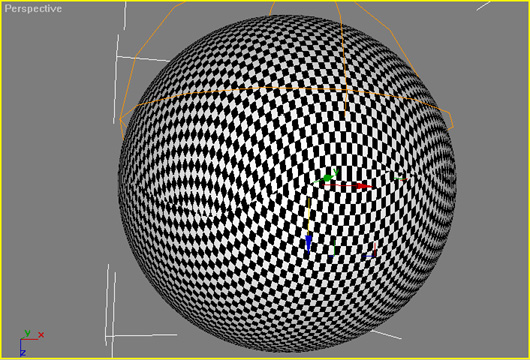
8) Add a "UVW Mapping" modifier. We're going to go with "Shrink Wrap" mode for this. Click "Fit", and chances are, the selected half of your asteroid will look pretty good. (You may be able to get better results by moving the mapping gizmo up and down. To do this, click on the words "UVW Mapping" in your modifier stack, and move the gizmo in the z-axis.)
|
|
|
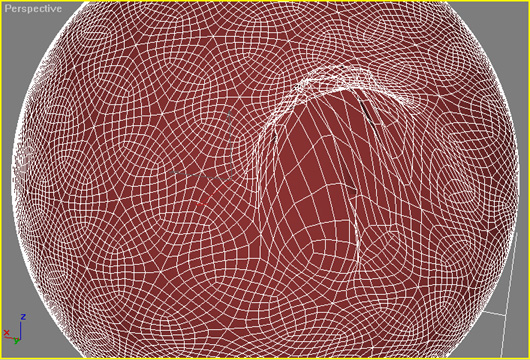
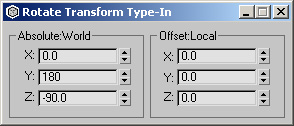
9) Note: After the last step, your mapping may look kind of wacky, depending on… well, a few different things. If your mapping looks like the example, click on "UVW Mapping" in your modifier stack to go into gizmo mode, then click and then right-click the "rotate" tool to bring up the "Rotate Transform Type-In" panel. Type in "180" for the y-axis under "Offset: Local". This will fix the messed up mapping coordinates. If your mapping looked correct to begin with, don't worry, you'll have to do this step after you've mapped the other half of your asteroid.
|
|
|
10) Add another mesh select modifier, go into polygon mode, type the material ID of the other half of the polygons (probably 2), and hit "Select".
|
|
11) Add another UVW mapping modifier. Set it to shrink wrap. Hit "fit". If you skipped step 12 before, you'll likely need to do it now.
|
|
|
Advanced
If you played with the geometry of the asteroid before, you'll need to morph it back to the correct shape now. Un-hide the earlier version of the mesh, go to the "Create" panel, and change from "Standard Primitives" to "Compound Objects". Make sure the fully UVW-mapped asteroid is selected, and click on "Morph". Then, click "pick target" and click on the correctly-shaped asteroid. Your asteroid should now have good mapping coordinates and have the correct geometry. (You can delete the extra asteroid now, if you want.)
|
|
|
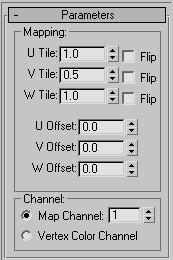
12) Yay! You're almost done. The last thing we need to do is to make sure none of the mapping coordinates from the two halves of the asteroid are overlapping. First, add a "UVW Xform" modifier, and set the "V Tile" to 0.5. (This will effectively change our texture map from a square, say 256x256, to a rectangle, 128x256. It's just a better use of texture space for this object, and minimizes stretching.)
|
|
|
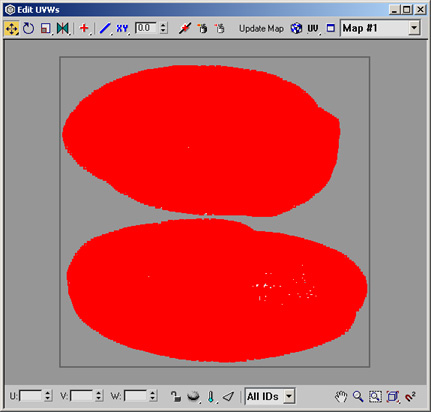
13) Now add an "Unwrap UVW" modifier, click on "Edit", and at the bottom, where it says "All IDs", select only the material ID of the top half of the asteroid (probably 1). Select all the vertices, and move them up and out of the way - preferably out of the box. Now switch to the other material ID (2?), select all THOSE vertices, and move them to the bottom of the box. Switch back to "All IDs", and you can move and scale both halves of the asteroid so that they fit inside the box, making sure they don't overlap.
|
|
|
14) You're done! Get texporter to output the uvw coordinates to an image (or just hit alt-printscreen while in the "unwrap UVW" modifier, then paste into Photoshop.) Paint your texture, and voila! A beautiful asteroid.
|
www.waylon-art.com
|