Learning Unreal Engine 3 ¢ UE3 Editor
Height Fog and Atmosphere
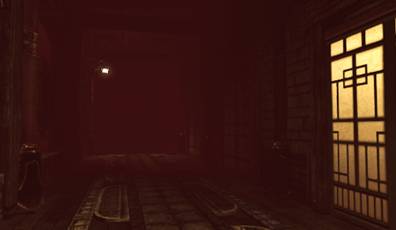
Height fog is a great way to add atmosphere to your level.Ā It can help set the mood, and make distant objects really feel like theyÆre in the distance.
1) Adding height fog
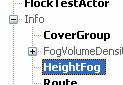
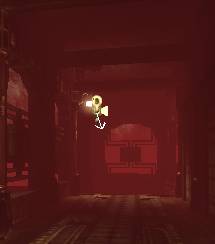
You can add height fog to your level by placing a Height Fog actor.Ā Open your level, then go to the Actor Classes tab of the Generic Browser.Ā Height Fog can be found under the Info category.Ā Select Height Fog, then add it to your level (Right-click somewhere in the level and choose ōAdd HeightFog Hereö)
You may not notice the effects of the fog right away, especially if you placed the actor on the floor.Ā ThatÆs because the position of the height fog actor you just placed controls where the fog starts ¢ and if you placed it low (or on the floor), the fog starts too low to affect your level.Ā
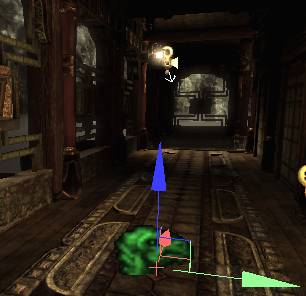
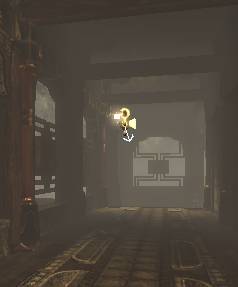
Grab the HeightFog actor and move it up near the ceiling, or higher.Ā The fog still isnÆt very thick, but you should be able to see its affect on the level as the actor moves.
2) Setting parameters
Bring up the properties of the height fog, and open up the HeightFog->Component category.Ā LetÆs look at ways to control the look of the fog.

Try playing with the Density first.Ā This controls how thick the air appears.Ā If you couldnÆt see the effects of the fog before, you definitely can now!
Next, tweak the LightColor parameter.Ā The results should be pretty obvious.Ā LightBrightness is a multiplier against the LightColor, and can make the fog appear brighter or darker.Ā Notice that you can add colored fog, or even black fog for a surreal effect.
StartDistance controls how far away the fog begins to render.Ā Plug in a StartDistance of 300 with a Density of 0.05, and youÆll see right away how this parameter works.
3) Uses
You can get a variety of effects out of a HeightFog actor.Ā Ultimately, the look youÆll want for your fog is tied closely with the lighting and postprocessing you apply to your scene, but these examples should give you a good starting point.
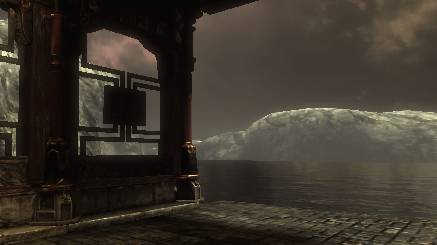
Atmospheric Haze
Use a low density, a light bluish color, and possibly a high StartDistance to make objects in the distance appear hazy.Ā Play with the vertical position of the HeightFog actor to tweak the look ¢ placing it high in the air may yield better results.
Localized Fog
Use a high density combined with a low position to make localized ground fog.
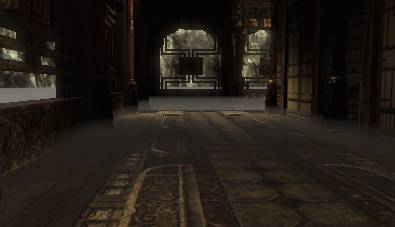
Dense Haze
A high density combined with a high position will fill the whole scene with fog ¢ and you can tint the color to give the scene and eerie feeling.Ā
4) Alternatives to height fog
Height fog isnÆt always the best way to get atmosphere into your scene.Ā It tends to have kind of a flat look, and itÆs applied evenly to the whole level, which makes it hard to customize for individual areas.Ā
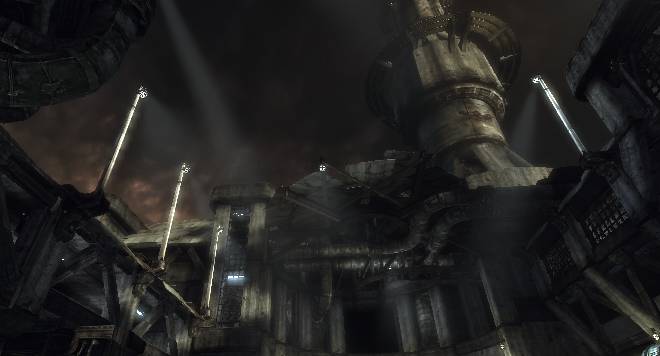
Spend some time looking at Unreal levels that have the kind of atmosphere you want.Ā Open them in the editor ¢ in a lot of cases, youÆll see that localized atmosphere effects are created by a static mesh with a custom material applied to it.Ā For instance, DM-Sanctuary has some pretty nifty light beam effects inside the caves.Ā No need to recreate this effect from scratch ¢ select the mesh, and you can copy and paste it into your own map.Ā (Ctrl-C to copy, Ctrl-V to paste.)
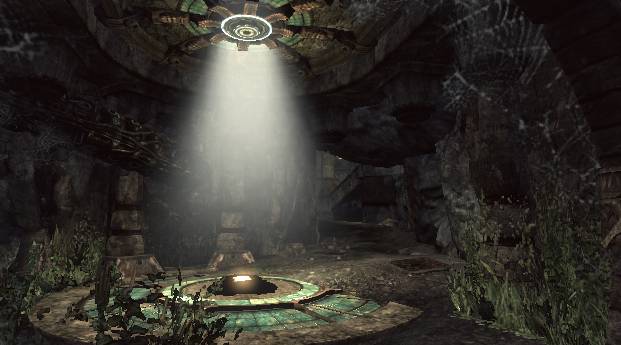
Look around, and once you know what to look for, youÆll see atmospheric meshes everywhere.Ā Reuse anything that you think will fit your level!Ā But be careful ¢ the quickest way to kill performance is to have too many overlapping atmospheric meshes.Ā Make sure that you can only see through 1 or 2 of these meshes at a time, from any camera angle.Ā (In other words, donÆt make a hallway with 30 haze cards staggered down its length.)Ā