Learning Unreal Engine 3 – UE3 Editor
Importing Textures
If you’re planning on creating your own texture maps, this section is for you. (Please read Working With Packages if you haven’t already - it covers the basics of importing any asset type.)
1) Painting Textures
A texture in Unreal can fill many different roles. It can be a tiling brick pattern on a wall, a custom paint job for a statue or weapon, or even a cloud pattern used in an explosion effect. The uses may vary, but fundamentally they’re all the same kind of asset – a 2D image.
Most likely, if you’re creating your own texture, it’ll fall into one of these categories:
- A tiling texture you can apply to BSP or a mesh (like a brick wall)
- A custom texture for a mesh you’re creating
- A replacement texture for an existing Unreal asset (a new skin for an existing character or weapon, or a static environment prop)
Most people create their textures in Photoshop, but any paint program will do (Painter, etc.)
2) Technical Requirements
Texture Size
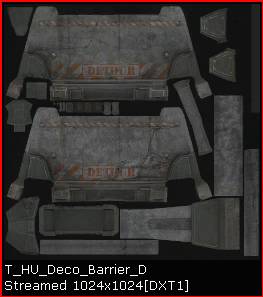
The first step to painting a texture is to decide how big it will be. If you really have no idea, try to find a texture similar to the one you want to paint, and base your size off of that. (In the generic browser, the size is listed at the bottom of the texture thumbnail. In this example, it’s 1024x1024.)
Many texture artists (myself included) like to paint at double resolution and then downsize right before you import. This allows you to be a little sloppier with your brush strokes or image source, and the final result will still look good.
There are only two major requirements regarding texture size:
- If your texture is too big, it’ll be very clunky to work with, and it’ll eat up a lot of memory. Don’t go higher than you need to. (If you’re going over 1024x1024, be sure you know what you’re doing!) Conversely, if you go too small, the texture may be blurry compared to its neighbors and it won’t look as good.
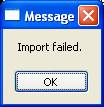
- The dimensions of your image need to be powers of 2 (1 2 4 8 16 32 64 128 256 512 1024 2048). No exceptions. A 512x512 or 256x1024 will work. A 513x513 won’t. A 40x80 won’t. If your size isn’t a power of two, you’ll get this cryptic error when you try to import:
File Format
Unreal supports a number of different file formats, but Epic uses “.tga” almost exclusively. It’s a good format for game textures – it has no quality loss, it supports an alpha channel if you need one, and most paint programs support it.
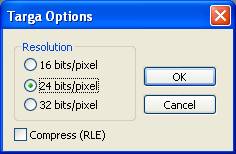
When you save a .tga, the only important option is whether you save it as 24-bit or 32-bit.
24-bit means it has no alpha channel, 32-bit means it does. If you don’t know what an alpha channel is, choose 24. If you choose 32, your texture will literally eat up twice as much memory, so be careful!
Also, be sure to always keep your unflattened .psd file around! You may need to go back and update it at some point.
Exporting
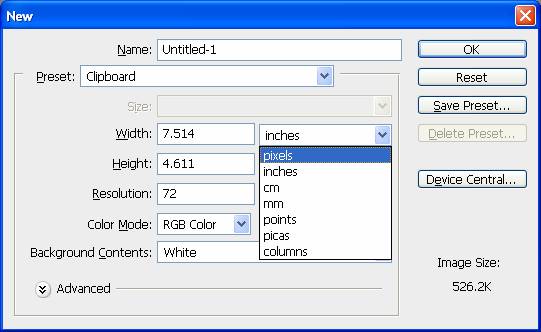
Let’s walk through the steps. Load Photoshop (any version) and create a new image (File->New). We need to specify the width and height in pixels, so if you’re in inches right now, hit the drop-down and switch to pixels. Then type in “256” for both the width and height, and hit OK.
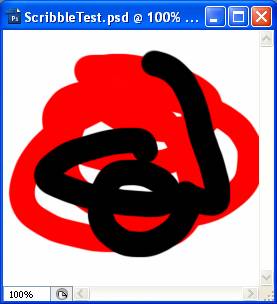
Now paint something (doesn’t need to look good) and save it as .PSD format. This will be our master file, where you’d do all of your painting “for real”.
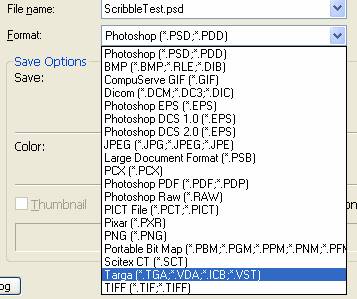
When you’re ready to export your texture into Unreal, go to File->Save As, then in the “Format” box, choose “Targa” from the list.
Keep the filename the same as your PSD (so “ScribbleTest.tga” in my case) and hit “Save”. Keeping your .tga in the same folder as the .psd is fine.
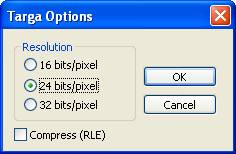
In the Targa Options box, as we discussed before, choose 24 bits/pixel and hit OK.
That’s all for Photoshop! Let’s look at how to import your texture.
2) Import a texture
Switch back to Unreal and open the Generic Browser. Go to File->Import, and browse to your .tga file. Select it and hit Open.
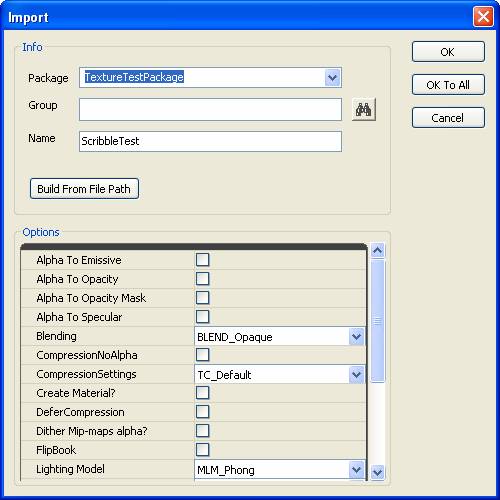
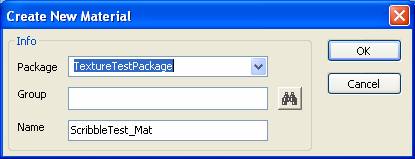
You’ll see the Import dialog. In the “Package” field, type the name of the package you want to import into (either a new package or an existing one.) The “Name” field should already be filled in with the .tga file’s filename, which is good. We’ll look at the other options later, but for now, leave them at their default value. Hit OK.
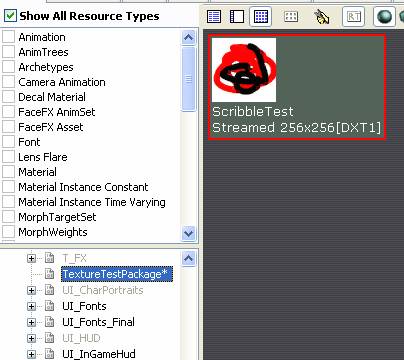
Select your package, and the texture shows up! Be sure to save your package at this point.
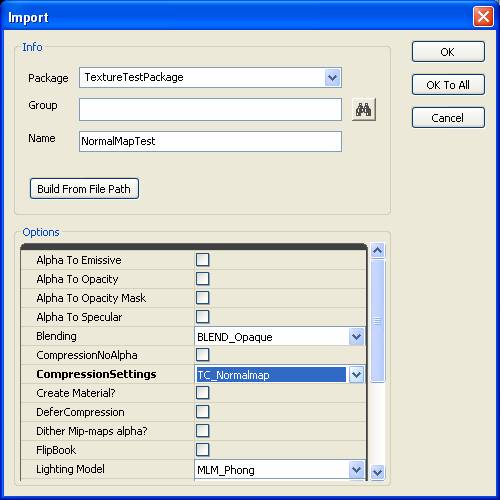
That’s about it for a standard texture, but if you’re importing a normal map, you need to change one of the options. Change the “CompressionSettings” field from “TC_Default” to “TC_Normalmap”. If you forget to do this, your normal maps won’t display correctly.
So now we’ve got our texture into a package, but what do we do with it? We need to create a material, and then we can apply it to a mesh or BSP surface.
3) Create a simple material
We’ll look at materials in more detail in a later tutorial, so for now, I’ll show you the bare-minimum easiest way to hook up your texture.
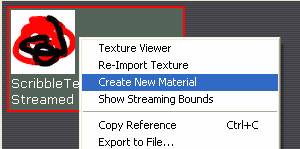
Right-click on your texture and choose “Create New Material”.
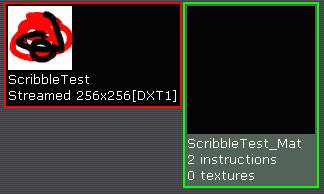
The default options are ok (same package, and a good name) so hit OK.
Your new material shows up next to the texture. Double-click on the material to open up the Material Editor.
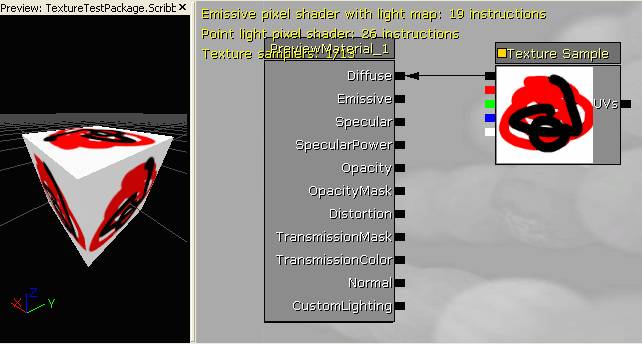
The window on the left is your material preview, but it’s black because we haven’t hooked up our texture. The window in the middle is where we do all of the work.
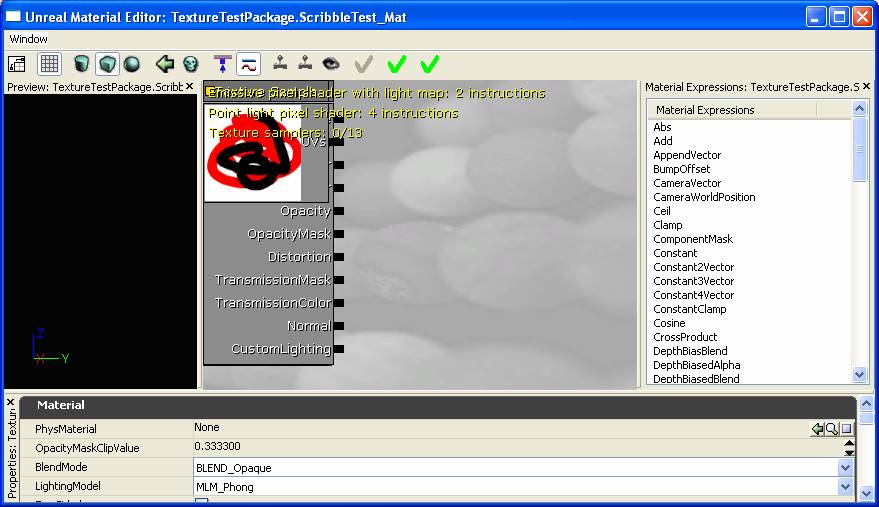
You can see that there’s a thumbnail for your texture already in that window, but it’s jumbled on top of everything else.
Click on it once to select it, and it’ll get a yellow border. Then hold the ctrl key, and you can click and drag on it to move it over to the right. Do that now.
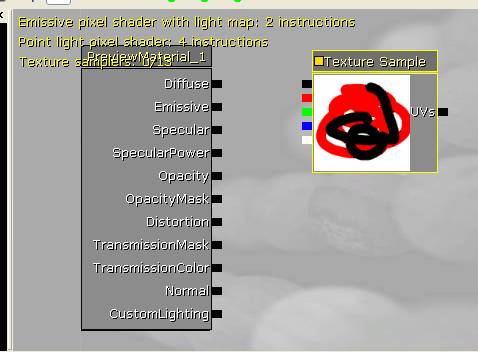
What we need to do now is draw a line starting from the black dot at the top-left of the texture sample, and connect it to the black dot to the right of the word “Diffuse”. Just click and drag on the dot and you’ll see the line appear.

Your texture will now appear in the preview window on the left. (You can click and drag in the preview window to rotate around.)
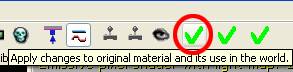
The last thing we need to do is save our changes. You’ll see three green checkmarks at the top of the window. Click on the one on the left.
Now close the Material Editor window. Back in the generic browser, you’ll see that the texture shows up properly on your material.
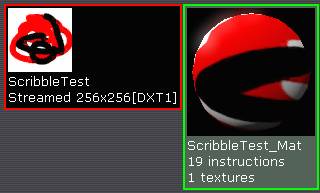
Save your package!
4) Apply your new material to a mesh
If you’ve already imported a mesh we could apply the material to it, but instead, we’re going to learn how to override the material on a mesh that’s already in your scene.
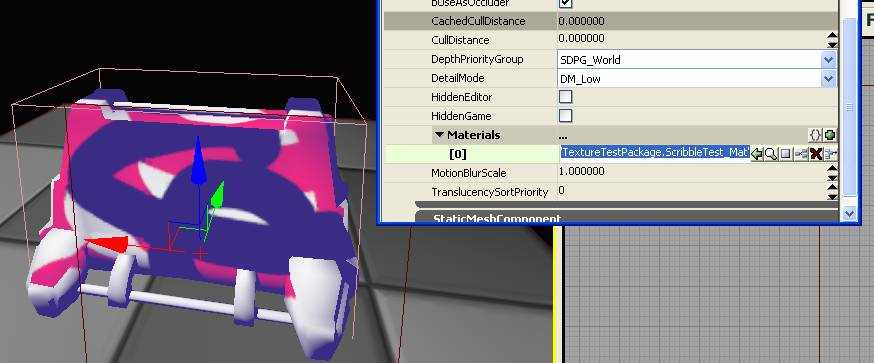
Open your test level (or create a new one) and place a Static Mesh in the world. (Any one will do. I used one from the HU_Deco package, S_HU_DECO_Barrier.)
Open up the properties on the mesh (select it and press F4.) Scroll all the way to the bottom. You’ll see a box labeled “Materials”. Click on the green dot on the right side of that line.
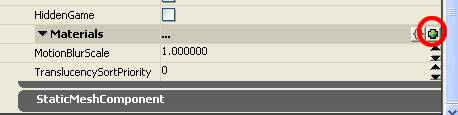
We can now override the material on the mesh. Make sure your newly-created material is selected in the Generic Browser, then hit the green arrow to plug it into the [0] slot.

And there you have it!